
Croquembouche Recipe (Profiterole Tower)
Crisp profiteroles, golden caramel, and a French showstopper, our croquembouche recipe is as stunning as it is delicious. With a little patience and step-by-step guidance, you can create this centerpiece dessert at home. Perfect for celebrations or any time you want to add a touch of Parisian elegance to your table!
What is a croquembouche (dough + Ingredients)?
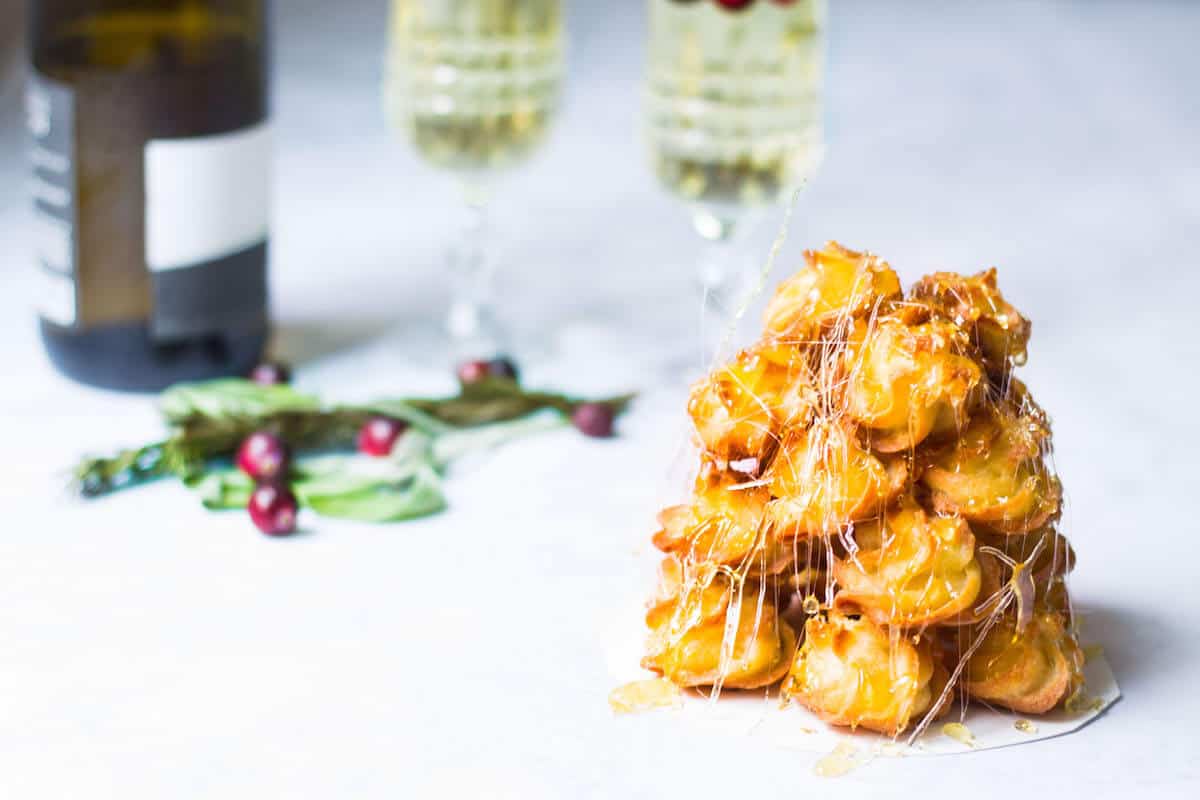
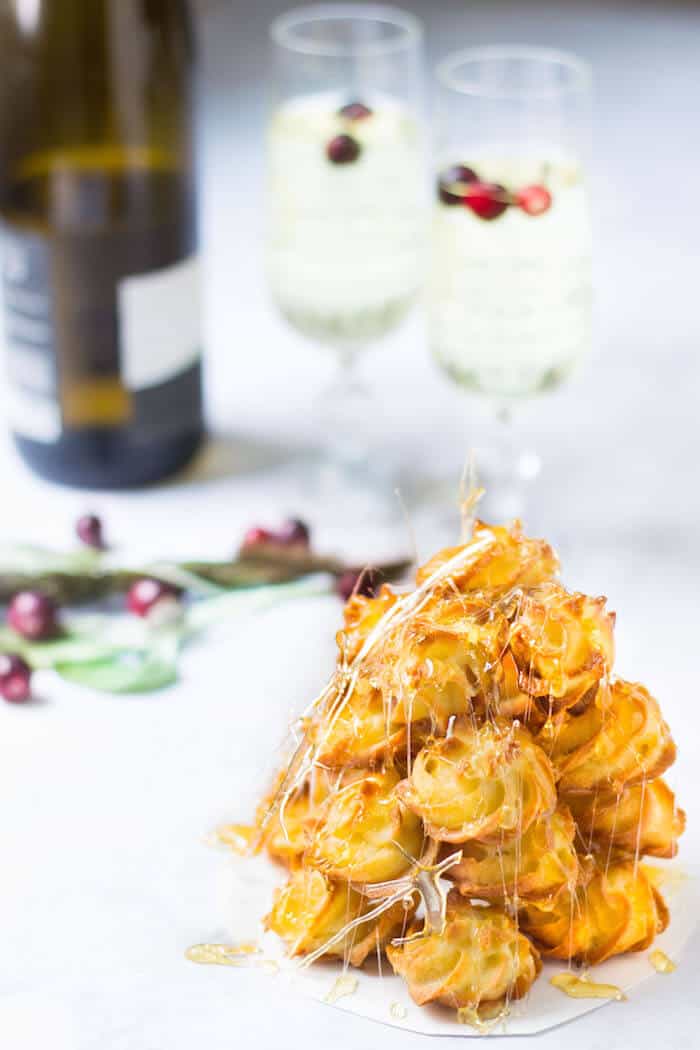
A croquembouche, also known as croque-en-bouche (literally meaning crunches in the mouth) and commonly misspelled as crockenbush (believe it or not!), is composed of small cream puffs piled high on top of each other in a cone shape, then decorated with spun sugar.
You’re also likely to spot a macaron croquembouche from time to time, but the cream puffs or profiteroles are the more traditional variation.
The dough for these cream puffs is made of a pâte à choux pastry dough, which is a mixture of ingredients that include flour, eggs, salt, sugar, unsalted butter, and water.
The filling for them is typically a pastry cream, made of whole milk, vanilla extract or vanilla bean, eggs, sugar, cornstarch and all-purpose flour.
Why is choux pastry so hard to make?
There is this pretty common idea that choux pastry is hard to make, and this is often a result of home bakers making profiteroles at home with failed results.
And by failed results, I mean that the home baker has stuck their profiteroles in the oven to bake only to have them collapse and turn flat when they remove them.
In my opinion, it’s usually because of the baker either doesn’t have the right recipe on hand or they’re opening the oven door and pulling the baking sheet out too soon, which can definitely cause the little pastry puffs to collapse. They definitely require the right timing and a couple of other tricks I go into detail with in my French pastry class, if you’re interested in that kind of stuff.
Following the recipe here, you should get perfectly puffed, golden brown profiteroles that are delightfully crisp on the exterior and hollow on the inside.
What is the difference between croquembouche and profiteroles?
While both start with the same base of delicate choux pastry filled with cream, profiteroles and croquembouche are very different in presentation and purpose.
Profiteroles are individual puffs, bite-sized or slightly larger, often filled with pastry cream, whipped cream, or ice cream, and served on a plate with a drizzle of chocolate or hot caramel. They’re elegant, delicious, and perfect for everyday desserts or plated treats in restaurants.
A croquembouche, on the other hand, is a show-stopping, cone-shaped tower of cream puffs, binding them with caramel or spun sugar. It’s designed to impress, often appearing as a centerpiece in France at weddings, baptisms, or special celebrations.
In short, profiteroles are the building blocks, and the croquembouche is the grand structure. The ultimate French dessert statement!
Why is croquembouche hard to make?
A croquembouche might look intimidating, but the “difficulty” is mostly about timing and technique.
You need light, airy profiteroles, a stable filling, and caramel that’s just the right consistency to hold the tower together. It’s all about stacking carefully and working quickly before the caramel sets.
While a large croquembouche tower can be intimidating, a mini one like the one shared here is honestly easier to create than a lot of the other holiday cakes or confectionaries you might see during this time of the year.
One thing that really helps when you’re carrying out a recipe like this is to use a steel croquembouche cone to help you. You can easily buy one online or make your own makeshift one at home. You can also just freestyle it, especially if you’re making a petit croquembouche like I did here.
What fills the profiteroles in a croquembouche?
The cream puffs are typically filled with classic pastry cream, something you’ll also find in éclairs or tarts, then stacked on top of each other using caramel sauce as the binding agent.
The pastry cream should definitely be made ahead of time as it’s usually cooked over the stove and warm, and the cream needs to be chilled before using. You can prepare ahead and cover the cream with a sheet of plastic wrap, placing the plastic directly on the cream, then pop it into the fridge.
Does croquembouche need to be refrigerated?
Because a croquembouche is filled with pastry cream, it does need to be refrigerated. However, refrigeration can affect the caramel that holds the tower together, making it slightly softer or sticky.
The best approach is to assemble the tower as close to serving time as possible, then store it in the fridge until ready to serve. If you need to prepare it in advance, you can keep the profiteroles stored in the fridge, then assemble the croquembouche shortly before your celebration to maintain that signature crunch and structure.
In general, choux pastry is best made the day of, so I wouldn’t recommend making this too far advance, but instead same-day.
Designing Your Croquembouche
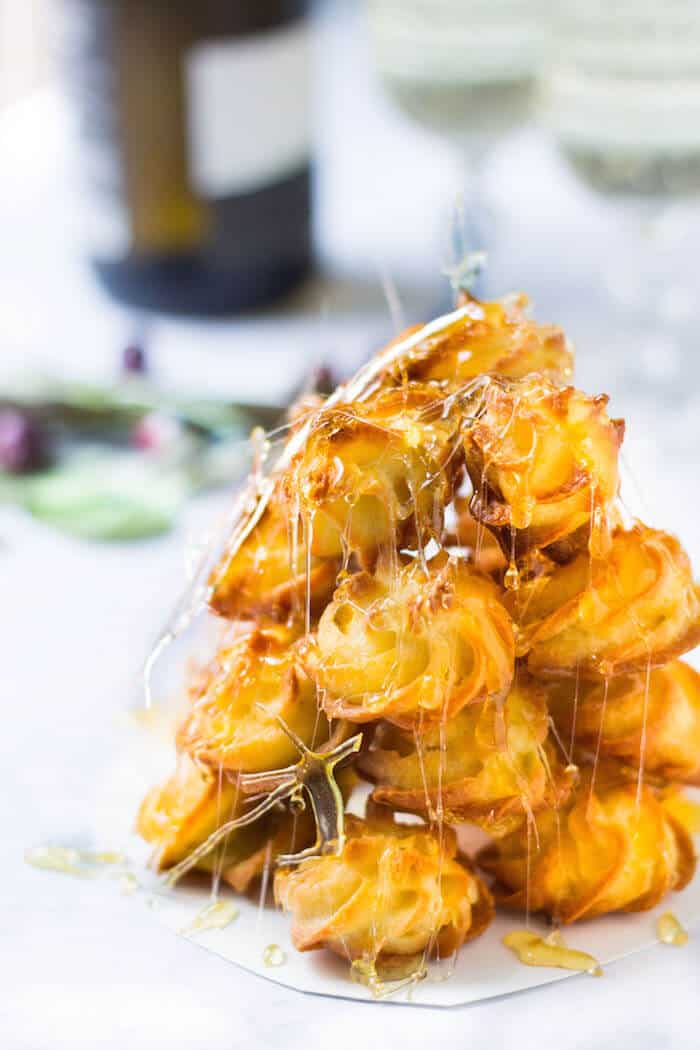
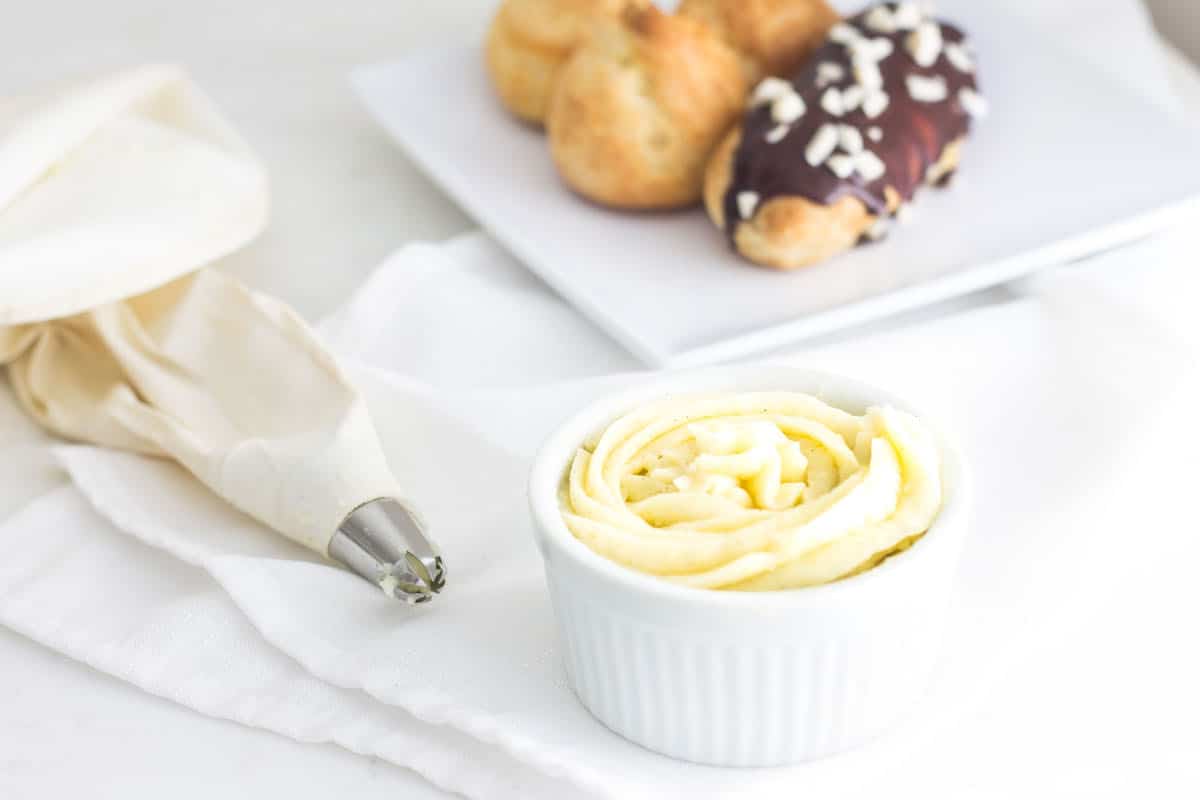
I like to use a special decorating tip (like this) on my piping bag to pipe out the mounds of pate a choux onto the parchment paper because I love the look of the elegant ridges on the cream puffs.
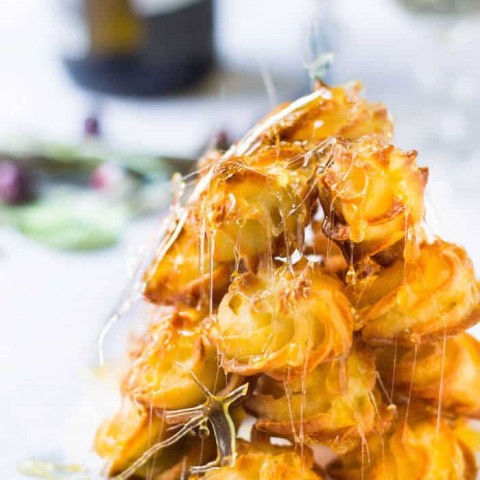
I think it’s the spun sugar that really makes a croquembouche look as magical as it does. For me, the croquembouche spun sugar is the most fun part of creating this dessert. I usually take my whisk and dip it in the prepared caramel sauce, then drape it this way and that way over the tops of each cream puff and all over the tower.
Doing this gives the tasty croquembouche the effect of looking like it has danced in a frenzy, leaving wispy twirls of sugar in its tracks.
Once the croquembouche has been adorned in spun sugar, the cream puffs are ready to be enjoyed, all with a nice little crunch from the caramel. The crispy element from the spun sugar really adds some variation to the dessert since cream puffs usually deliver a predominantly tender bite.
Tips for Making A Croquembouche
Making a croquembouche might seem intimidating, but with a few simple tips, you can create a stunning centerpiece without stress:
- Perfect your profiteroles first – Light, airy, and hollow choux puffs are the foundation of a successful tower. Don’t rush this step.
- Use cooled pastry cream – Pastry cream or diplomat cream works best here. Make sure it’s chilled but not too stiff to pipe.
- Work quickly with caramel – Boil your caramel ingredients in a small saucepan just until it’s a pale amber, and then work quickly once it’s ready. It sets fast! Have your tower base ready and a clear plan before dipping each profiterole.
- Assemble in sections – Build the tower layer by layer, starting from a solid base. Don’t try to go too high at once.
- Control humidity – Moisture can soften the caramel and make the tower unstable. Assemble in a dry, room temperature area if possible.
- Optional decoration – For a classic look, stick to a simple drizzle of spun sugar over the tower. For a fancier take, add edible flowers or peal sprinkles for a touch of elegance.
- Serve soon – A croquembouche is best enjoyed the day it’s made. If you need to prepare in advance, store the filled profiteroles in an airtight container in the fridge and assemble shortly before serving.
With patience, practice, and these little tricks, your croquembouche will not only taste incredible, it’ll wow anyone lucky enough to see it!
Croquembouche
A tower of delicious cream puffs filled with pastry cream and decorated with spun sugar.
Ingredients
for the pate a choux (pastry puffs)
- 1/2 cup water
- 1/4 cup unsalted butter
- 1/2 tsp sugar
- 1/4 tsp salt
- 1/2 cup all-purpose flour
- 2 eggs
for the pastry cream
- 1 cup whole milk
- 1/2 tsp vanilla extract
- 1 whole egg
- 1 egg yolk
- 1/3 cup sugar
- 2 tbsp cornstarch
- 2 tbsp all-purpose flour
for the caramel
- 1 1/4 cup sugar
- 1/3 cup water
Instructions
- Start the dessert off by making the pastry cream first. Create the pastry cream by first warming the milk in a medium saucepan over medium-low heat until it’s hot, but not boiling.
- Meanwhile, whisk the egg, egg yolk, and sugar together until thick and pale. Add the cornstarch and flour, and whisk again to combine. Pour 1/4 cup milk into the egg batter and whisk vigorously to combine. Slowly add the rest of the milk, continuing to whisk the mixture as you do.
- Pour the mixture back into the saucepan, and continue to heat this mixture over medium-low heat. Whisk the entire time, and after about 5 to 7 minutes, you should see the cream really thicken up into a pudding-like consistency.
- Take the cream off the heat. Add in the vanilla extract and whisk to combine. Place a sheet of plastic wrap directly onto the pastry cream to prevent a filmy layer from forming. Refrigerate the pastry cream until chilled.
- Preheat the oven to 425°F. Line a baking sheet with parchment paper or a silicone mat.
- To create the pastry puffs, begin by heating the butter, water, sugar, and salt in a small saucepan over medium heat. Once the butter has melted and the mixture has come to a simmer, remove the saucepan from the heat.
- Add in the flour and stir with a wooden spoon. Move the saucepan back over to low heat and continue to stir the mixture until the flour is completely incorporated and the dough no longer sticks to the bottom or sides of the pan. Remove the pan from the heat and turn off the stove.
- Add in the eggs, stirring very well after each addition. You want to make sure each egg is mixed in well before adding another. The finished result should look like a thick paste.
- Transfer the pastry dough to a pastry bag fitted with a star tip or round tip, and pipe the dough into small 1 inch mounds onto the prepared baking sheet.
- Bake the pastry puffs for 10 minutes at 425°F, then without opening the oven door, lower the heat to 375°F and bake the puffs for another 5 to 8 minutes, until the puffs are completely golden.
- Turn the oven off and leave the oven door slightly open. Let the puffs rest in the turned off oven for about 10 minutes. Then remove and transfer them to a wire cooling rack to cool completely.
- Take a small cake board, or create a round 5 to 6 inch cardboard shape and line it with parchment paper. Temporarily set aside.
- Once the pastry puffs are cooled, fill a pastry bag with the chilled pastry cream. Poke the bottom of each pastry puff with your pastry tip to create a small hole. Insert the pastry cream into the puff through this hole. Repeat for all the pastry puffs.
- Create the caramel by adding the sugar and water to a heavy-bottomed saucepan over medium heat. Give the sugar and water an initial stir to combine the two together, but then don’t stir the mixture anymore after this point. Instead, give the caramel a a stir by giving the saucepan a brief swirl every now and then.
- Let the sugar and water boil until it begins turning a light amber color (about 6 to 8 minutes). Keep your eye on the mixture like a hawk, and don't let it get any darker than pale amber. You don't want it to be darker like traditional caramel sauce; this way the mixture will still crystallize when you drape it over the pastry tower.
- Dip the bottoms of the pastry puffs in the caramel, being very careful not to burn your fingers, and place the puffs in a circle on the prepared board. You’ll want to have a circle of 6 cream puffs. Then create another circle of cream puffs on top of this first ring, dipping the cream puffs in caramel first to get them to stick. Continue this until you create a sort of tree-shape or cone-shape with the cream puffs.
- If the caramel has somewhat hardened, briefly heat the caramel to loosen it up before using again. Take a whisk or fork and dip it in the caramel before draping the caramel over and around the tower of cream puffs. You can also splash some of the caramel onto a large sheet of parchment paper, and allow the sugar to harden for about 15 to 30 seconds before removing these strands/shards of sugar and carefully placing them around the tower of cream puffs.
- Refrigerate if serving the cream puffs later, otherwise serve immediately.
Nutrition Information:
Yield: 16 Serving Size: 16 ServingsAmount Per Serving: Calories: 85
![Holiday Pain Perdu: gingerbread men shaped french toast served with Butternut Mountain Farm maple syrup. Recipe via MonPetitFour.com [ad]](https://purebody.today/wp-content/uploads/2017/11/holiday-pain-perdu-copy.jpg)
lol. Am one of those French people. ?? Good feedback, I didn’t think of that. On another note, love your blog site. Keep up the good work! Vive l’Amerique! ??
Merci, Chantal! I really appreciate your kind words and readership <3
I made one (not your recipe, but similar) & had a hard time serving it. After I decided to put it in the fridge, it seemed easier to take apart. Do u have a recommendation or a trick? Merci. ?
Hi Chantal! Great question! Croquembouche can be a bit tricky to pull apart sometimes. If I see my puffs are not easily breaking off, I use kitchen scissors! I know it sounds funny, but I find it far less messy than actually shattering the croquembouche like some French people do.
Your croquembouche is magnifique! This is one pastry I have not yet tried to make… it just looks so daunting!
Thank you so much, Angelina! The petite version is definitely much more feasible! 🙂
Beeta.. You never cease to amaze me. I had no idea that you used to work in the fashion industry and now you are doing this. And doing it so well.
And this croquembouche… Seriously, it looks amazing. Well done!
XOXO
Aww thanks so much, Aysegul! Yes this lady is a bit obsessed with fashion, which is why I probably own way too many aprons too ;p Thanks so much for your kind words, I sooo appreciate it – you made my day! XO
What a gorgeous croquembouche, your talent and artistic abilities truly shine through in each and every one of your posts, Beeta! <3
Aww, thank you SO much, Sam!! You are too kind <3 I’m so glad we’ve found each other’s blogs as I really enjoy following yours as well <3
Making a traditional croquembouche has always completely intimidated me, but here you’ve made it completely approachable. and completely gorgeous! Your eye for design does come through in your edible creations, Beeta. You are one talented and lovely lady.
Aww thank you so much, Marissa! You are so kind <3 And I know what you mean about croquembouches being intimidating. The first one I saw I was like how is this possible!?? But it just requires a little more patience and time than any real special skill. Hope you are having a lovely holiday season, sweets! XO
Stunning! Your croquembouche is simply wonderful, Beeta, the perfect seasonal alternative to a Christmas cake! It is no wonder that the French traditionally have a croquembouche at their weddings! xx
Thanks so much, Louise! I totally agree…it is actually very possible to be over cake after some point, and these puffs can be a welcome alternative! XO
How beautiful is this Beeta! I love that you piped the choux buns with a star tipped nozzle, it makes the finished choux puffs look even more christmas like. Wonderful! Well done on the sugar work as well! x
Thank you Angela!! That is real sweet coming from a pastry expert like yourself! <3 I’m so glad you like the way I piped the pastry puffs too! 😀 XO