
French Baguettes Made at Home
These French baguettes are everything I love about French bread and Paris! With a crisp exterior and fluffy interior, you’ll find yourself turning to this easy baguette recipe for homemade French bread over and over again.
What is the secret of the baguette?
The secret of the baguette is its simplicity, patience in fermentation, and the artisan’s touch, turning 4 humble ingredients into something extraordinary.
On one of my early trips to Paris, I reserved dinner at a cozy piano bar/restaurant in the 6th for the night of my arrival. When we sat down, I was still pretty delirious and jet-lagged, so I wasn’t really paying attention to anything other than my friends who were chatting with me.
In fact, for a moment there, I completely forgot I was sitting in a cafe in Paris, France. It wasn’t until I absent-mindedly put a torn piece of baguette from the bread basket into my mouth that I realized I was in my favorite city in the world.

I immediately thought oh my goodness! The bread tasted incredible! Seriously, truly incredible.
It tasted the way bread in France can only taste.
A lot of people ask me how to make homemade French baguettes like that, but non, ce n’est pas possible.
What are the ingredients in a traditional baguette?
In France, the four ingredients of a true French baguette are:
- Flour
- Water
- Yeast
- Salt

What is the baguette rule in France?
The reason baguettes can only have 4 simple ingredients is because of a special rule in France: the famous 1993 “Décret Pain” (Bread Decree).
This law protects the integrity of traditional French bread. It states that:
- A “baguette de tradition française” may only be made with those 4 ingredients, nothing else.
- No preservatives, additives, or artificial enhancers are allowed.
- It must be mixed, kneaded, fermented, and baked on the premises where it is sold.
That’s why when you buy “une tradition” in France, you know it’s fresh, handmade, and purely crafted.

What makes French baguettes so good?
If you’ve tried replicating baguettes at home and thought to yourself, why don’t they taste as good as they do in France, just know that it’s not because you’re not a great baker.
Even great chefs in American bakeries can never deliver true French baguettes. French bread tastes so good because French bread is, simply put, French!
What I mean is that French bread is made with French flour, which is produced from French grains. While French flour has various types, with some versions having higher protein content (equivalent to American bread flour) or lower protein content (equivalent to American all-purpose flour), the fact remains that the grain producing that flour is different than the grain producing American flour.
But that doesn’t mean that we can’t make some pretty damn good baguettes at home here in America.
These homemade French baguettes are proof!

How to make homemade baguettes?
Making homemade French baguettes doesn’t have to be an intimidating project.
For this recipe, you don’t use a starter or any other kind of fancy ingredient.
Instead, this bread gets lots of flavor from an overnight rise. Letting the dough rest in a large bowl, covered with plastic wrap in the fridge overnight, allows the yeast to slowly impart its flavor in the dough.

The original recipe I used as inspiration to craft this one called for instant yeast, but I never have instant yeast on hand.
Instead, I activate my dry active yeast with some warm water, and then mix ice cold water into the dough to slow down the yeast process.
There’s hardly any kneading with this easy french baguette recipe. If you’re using a stand mixer, you’ll use the dough hook to do some of the mixing for you.
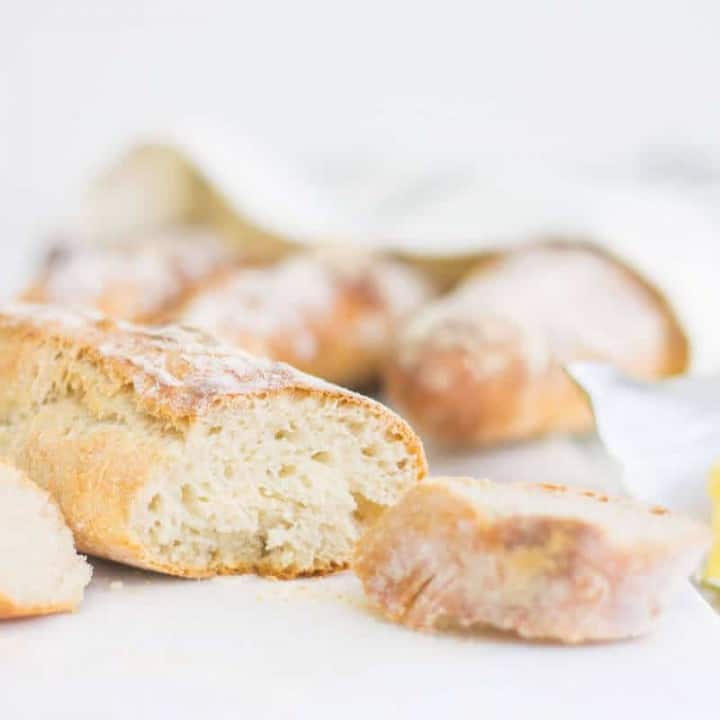
After baking the dough, you’re left with superb French baguettes that have a crispy crust with a soft and chewy interior.
You don’t have to have a baguette pan for this recipe; you can easily use a baking sheet to bake the bread. A baguette pan makes it slightly easier to separate each dough loaf into equal pieces and create that iconic baguette look, but it’s not mandatory.
I have baked these with both, and they both turn out great. One advantage a baguette pan has is that it is usually perforated with tiny holes. This allows the baker to place a dish of boiling water on a bottom rack in the oven to humidify the baguettes rather than having to periodically open the oven door and spray the baguettes with water while they’re baking.
Before baking, you’ll use a sharp knife or a kitchen razor blade to score the top of each baguette, basically cutting a few slashes into the dough. This is done because when bread goes into a hot oven, it has an initial burst of rising called oven spring.
Without scoring, the crust sets quickly and the bread might tear in random spots. Scoring creates “weak points” where the dough can expand gracefully.
It also directs how the bread opens, helping it create airy insides and a balanced crust. It prevents dense spots and allows the loaf to rise evenly.
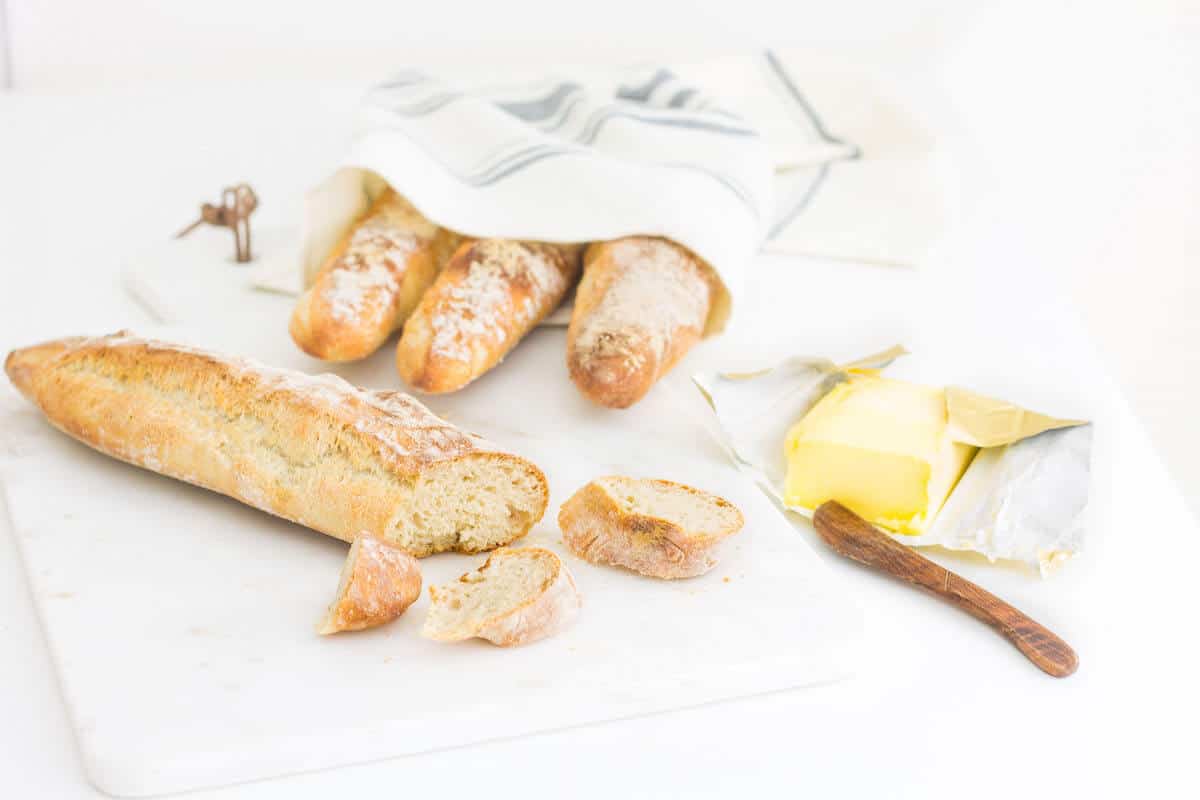
And oh how airy and perfect are these! The taste of a fresh baguette like this, straight out of your oven, is wonderful!
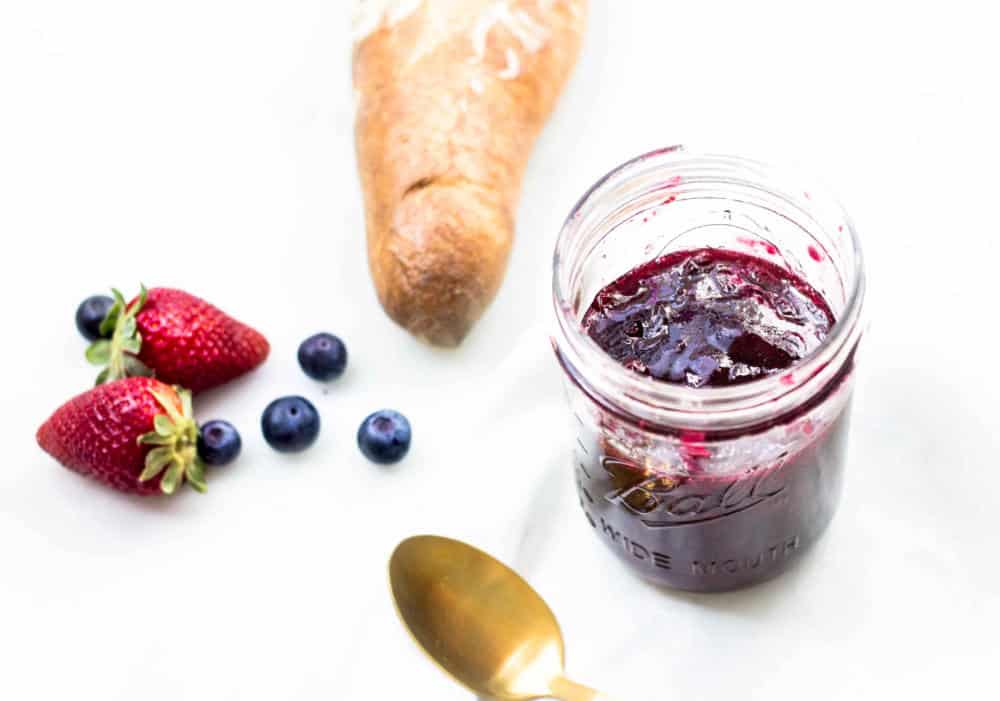
Spread a little bit of butter onto your warm bread and delight in how irresistibly good it is. While I won’t claim that these are the equivalent to a French baker’s, I do think they are a fabulous alternative when you just can’t make that trip to France!
French Baguettes
Crisp on the exterior and fluffy on the interior, homemade French baguettes.
Ingredients
- 4.5 cups bread flour, plus more for dusting
- 1.75 tsp salt
- 1.5 tsp active yeast
- 1/2 cup warm water, 110°F
- 1.5 cups iced cold water
- olive oil for greasing
Instructions
- To a small bowl, add the active yeast. Follow with the warm water and give the mixture a gentle stir. Let this mixture rest for 5 minutes.
- Combine the flour and salt together in the bowl of a stand mixer using the paddle attachment. Add the yeast mixture and cold water, then continue to mix until a dough forms.
- Once a dough forms, swap in the hook attachment and knead the dough for 1 minute. Stop the mixer and let the dough rest for 5 minutes. Then knead the dough on low speed for another 1 minute, then let the dough rest for 5 minutes.
- Grease your work surface with some olive oil. Turn out the dough onto the oiled surface. Now, grab one end of the dough and stretch it out before bringing the flap in towards the center. Repeat this step for the remaining 3 sides of the dough to create a square pocket shape with a total of 4 flaps that have been folded into the center. Turn the dough over so that all the flaps are facing downward and the smooth side of the dough is facing upward. Let the dough rest for 10 minutes. Repeat this step with the stretching and folding, then let the dough rest for another 10 minutes.
- Lightly grease a large bowl with olive oil, then transfer the dough to the bowl. Cover the bowl with a sheet of plastic wrap; refrigerate the dough overnight. Note: Dough can be refrigerated for up to 4 days.
- The next day, place the covered bowl of dough out on the counter 1 hour prior to baking. After an hour, preheat the oven to 475°F. Now, very gently turn the dough out onto a greased work surface. You want to do this as carefully as possible so as to not disturb the bubbles in the dough.
- Take a bench scraper, knife, or pizza cutter and divide the dough into 2-4 pieces (depending on the size of baguettes you want). The more you divide, the smaller and skinnier your baguettes will be.
- Gently shape the pieces of dough into baguettes by gently stretching and elongating the dough. Sprinkle flour on a baguette pan or a baking sheet and transfer the baguettes to the prepared pan.
- Sprinkle a touch of flour on the top of the baguettes, then use a sharp knife to score the baguettes. You'll want to cut a few slits (each about 1/4" to 1/2" deep) in the top of the baguettes.
- Bake the baguettes on the middle rack for 16 to 20 minutes until golden brown (baking time will depend on the size of the baguettes) and your type of oven. Throughout the baking process, use a spray bottle to spray water into the oven (in the space above the baguettes) every few minutes. Cool the baguettes on a wire cooling rack. (see note)
Notes
You can bake your baguettes longer for a darker and crisper crust, but just keep a watchful eye on them so they don't get too dark or burn.
To turn this dough into focaccia bread, simply follow the recipe card as instructed, but instead of shaping the dough into baguettes, spread the dough out onto half of a standard rectangular baking sheet. Make sure you oil the baking sheet first before adding the dough. Once you've spread out the dough, use your index finger to poke into the entire surface of the dough to create slightly indentations. Drizzle olive oil all over the top, then sprinkle rosemary leaves and coarse sea salt all over the top. Bake at 475°F for 22-25 minutes, until golden brown. 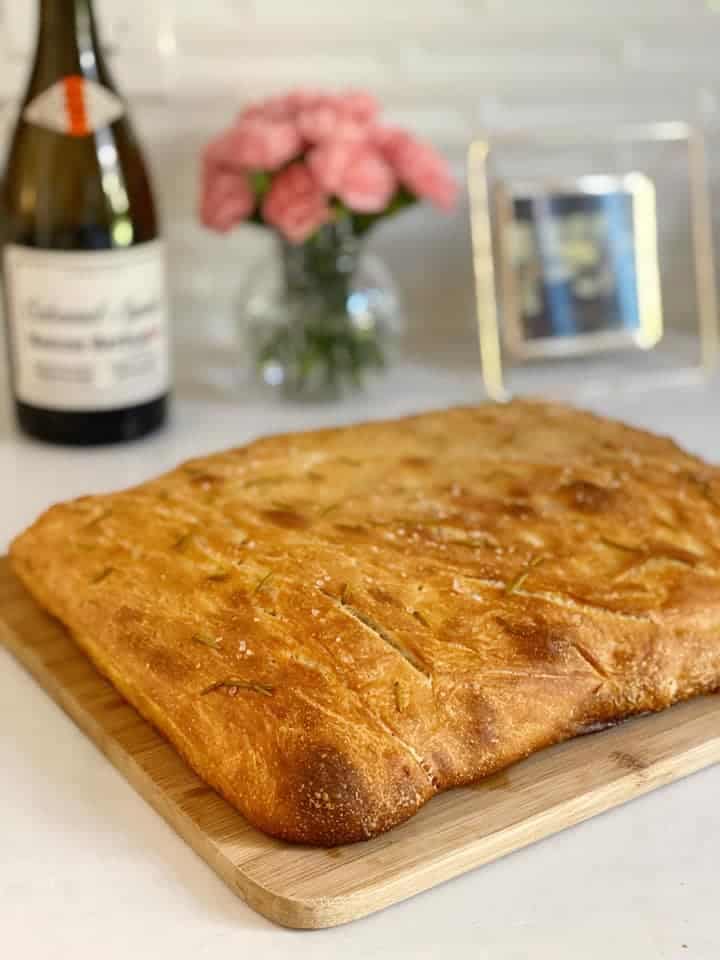
Nutrition Information:
Yield: 3 Serving Size: 3 ServingsAmount Per Serving: Calories: 660
SaveSave


Made this formula with a lower protein bread flour as true European flour has a lower gluten percentage than flour in the U.S.
1 cup cake flour
3.5 cups Bread Flour ( hard flour, clear flour ).
Turned out FANTISTIC!!!!
Master Baker
Fantastic suggestion, Gary! Thank you so much for sharing your tip and for the kind words! 🙂
Absolutely love this recipe. I made the dough last night and made the Baguettes this morning. My husband says they are as good as any he has had in Switzerland and France, (he is Swiss and loves French Food). I made these to go with the French Onion soup (https://purebody.today/french-onion-soup-2/%3C/a%3E%29 I will be making for dinner. It snowed here today and this combo just sounded so good. Can’t wait to try the soup tonight. Thank you.
Thank you so much, Barbara, for the kind feedback! I really appreciate it. I’m so glad you and your husband enjoyed the baguettes and I hope you love the French onion soup too! The combo sounds like the perfect treat for a cold day <3
I’d like to know if you’ve converted this recipe to weight measurement for the flour instead of cups. I’ve tried a couple of other recipes for baguettes and the dough was much looser than this dough. I’ve just put it in the fridge for the night, so I’ll see tomorrow. Can you tell me how you measure your flour? Also, one you cut the dough into thirds, do you shape it at all, score it on the top like traditional baguettes are usually scored, and do you let them rest/rise before baking? Thanks so much for your recipe.
Hi Brett! No I just used it as it was written with cup measurements. It’s an adaptation from Peter Reinhart’s recipe for Pain a l’Ancienne. I believe he actually uses more flour for his baguettes, but I found that this amount has worked well for me. I would say follow the recipe as instructed and see how it goes. When I tried his original recipe, mine was far too dry. With this amount it, it ended up working perfectly.
Usually when I take the dough out of the fridge the day after, it’s sticky. If you feel that it’s still too dry, I would try the recipe next time with 3.5 cups and add half a cup of flour more as needed while you’re mixing the dough and getting a feel for it. I live in Southern California and considering the climate here, the 4.5 cups has always worked well for me and the students I’ve shared this recipe with down here, but I do know the humidity or lack of can all play a factor with bread dough.
As far as scoring, this is optional. When the dough is sticky, it can be tough to score the top (sometimes you’ll need a nice dough razor). After you cut the dough into thirds, you just gently use your hands to shape the tips and sort of plump the sides of the rectangle strip to give it that more characteristic baguette look. But again, I would not play around too much with it because you don’t want to destroy those nice gas bubbles it’s formed overnight. A sprinkle of flour on top of the baguettes before they go in the oven also gives that “rustic” look.
As far as any extra rising time, you don’t need it. The dough will rest for an hour on the counter once it’s come out of the fridge on the day you’re baking it, then be cut and transferred to a baking sheet while the oven preheats. Then the dough will rest on the baking sheet for those final minutes it takes to finish preheating the oven, and then off they go! 🙂
I routinely back challah at 6000ft altitude. At higher elevations, the yeast can be more active, leading to excessive rise. I’ve learned that salt puts a brake on the rising. So it’s critical to NOT forget the salt. Also, consider decreasing any time of rising when baking bread at altitude. My $0.02.
Thank you, James! That’s very helpful for those who are also baking at higher altitudes! 🙂
These are absolutely amazing. Thanks for the recipe.
Thank you Trista! So glad you enjoyed this recipe <3
I miss real French Baguettes now that I am retired and do not get to France that often.
I live at 7000 ft elevation and wondered what changes I should make for high altitude baking.
G
Hi Gordon! I feel you – the baguettes in France are something else! As far as high-altitude baking, it’s a very tricky thing to tackle as there are so many factors that you have to be conscious of. I don’t pretend I am skilled at HA baking, so I often direct these kind of inquiries to King Arthur Flour’s guide. I use their flour for most of my baking and they tend to be a good authority on the subject! 🙂
This makes me want to get a stand mixer. Do you really need a stand mixer?
Hi Hailey! You don’t have to have a stand mixer by any means. It of course makes the recipe involve less manual labor, but honestly I’ve made bread with and without a mixer. If anything, bread comes out better when its made by hand, in my opinion! 🙂
WOW! I’m so inspired. These baguettes are so perfect! Every time I’ve attempted a traditional baguette at home, they never come out quite right—not chewy enough on the inside and not crispy enough on the outside. Yours look totally beautiful though… Maybe I shall have to attempt it again soon! xo
Thanks Rachel!! I know what you mean. It can be hard to find a good baguette recipe. But Peter’s is great so it’s my go-to for perfect baguettes! <3 XO